

Soccer Obstacle Course: How to Build One for Kids

The first time you set out cones for a young child, the session usually lasts about a minute. She sprints at the first cone, knocks it over, chases the ball into the hedge, and asks whether you can go back inside. Nothing has gone wrong. A soccer obstacle course gives that same patch of grass a shape: a start, a path, a finish, and a reason to keep the ball close on the way through.
What follows is the version of that course I'd lay out for a group of children at different ages, with the numbers to write on your plan and the mistakes that eat a session. It starts with a follow-the-cones line for toddlers and ends with a course for 10- to 13-year-olds where players pick routes, react to a call, and finish against a timer.
One idea runs through all of it. The course is a progression, not an event. What changes as children grow isn't the format. It's how much thinking the format asks for.
What a Soccer Obstacle Course Trains
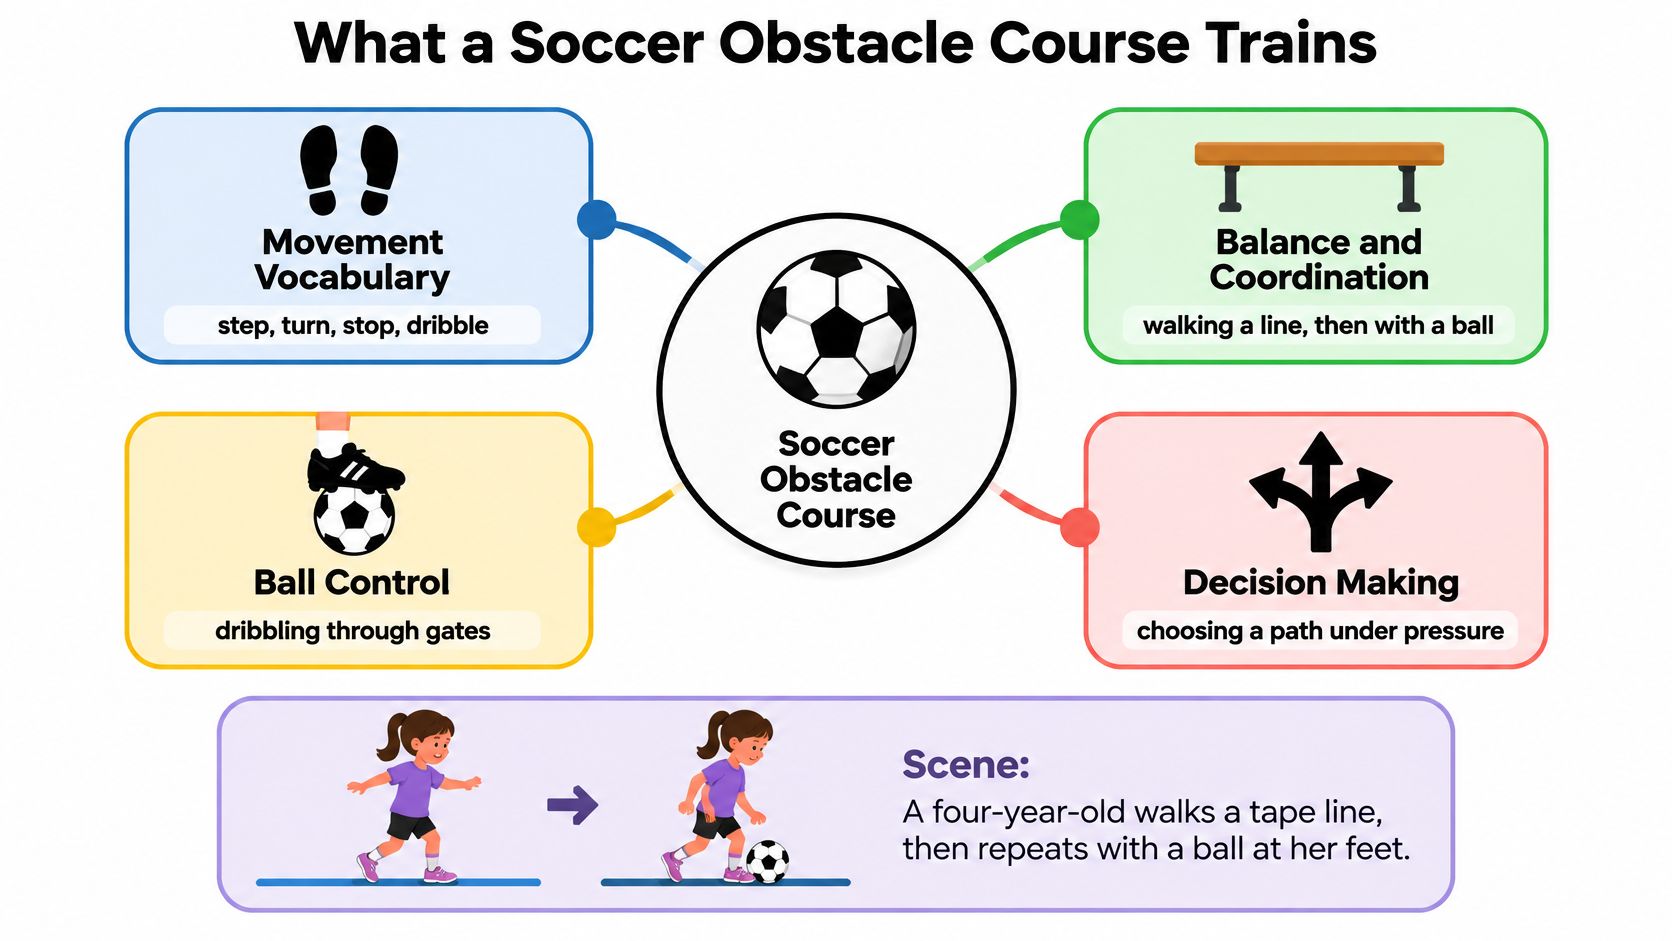
A four-year-old walks along a strip of tape laid across the floor, arms out, one foot in front of the other. Then she does the same walk with a ball at her feet, and the task changes character. The strides shorten, her eyes drop to the ball and lift again, the ball rolls a yard ahead and gets reeled back in. That second walk, slower and wobblier than the first, is why a soccer obstacle course earns its place in a session.
Read the course as a sentence built from movement words: step, turn, stop, touch, look up. Each station adds a word. Over a few weeks the child learns to say the whole sentence at speed.
Coordination: where the feet land, how the body stays balanced over a moving base, and where the child sits in space relative to a cone, a hoop or a teammate. Walking a taped line, hopping a low hurdle and stepping through a ladder all train it.
Ball control: close touches that keep the ball within a stride while the child changes pace, turns and stops. It's the difference between arriving at the gate with the ball and arriving, then walking back to fetch it.
Decision-making: route choice and reaction. Which side of the cone do I take, what does the coach's raised hand mean, when do I shoot.
Isolated drills rehearse those one at a time. A match demands them in sequence, in the order a defender arrives: receive, turn, accelerate, scan, decide. A course rehearses that sequence.
The blend is not a modern invention. A 1937 qualifying event in Lannion, France asked 15- to 17-year-olds to complete a difficult timed course while also showing shooting, crossing and corner kicks with both feet, according to this documented history of youth football assessment, and the format stayed in training material into the early 1960s with players dribbling through hurdles. It survived because it packs several foundational actions into one activity a coach can watch.
The format also scales without changing shape. Raise the hurdles, tighten the gates, add a called direction, and the same circuit serves a toddler and a 13-year-old. If the movement side is what you want to sharpen, these soccer agility training progressions show how to layer reactive starts and angled sprints onto the stations.
The check that matters: if children come through with the ball under control, the course is working. If they're rushing and losing the ball at every gate, it's too fast or too hard for this group, and the fix is spacing, not effort.
Age-Band Course Plan at a Glance
Start with a plan that fits on one sheet of paper. Four bands cover the range most families and rec programs deal with, from a two-year-old who walks more than she runs to a 13-year-old training twice a week.
Age band | Course length and obstacles | Round length | Players per station |
|---|---|---|---|
Ages 2-3 | 6-8 m, ground-level cones and hoops only | 30-45 seconds | 2-3 children, adult beside them |
Ages 4-6 | 10-12 m, low obstacles and one dribble gate | 45-60 seconds, rest until breathing settles | 3-4 players |
Ages 7-9 | 15-20 m, slalom and a finishing task | 60-90 seconds, rest about as long as the round | 3-5 players |
Ages 10-13 | 20-30 m, change of direction and timed finish | 3-4 minutes per station | 4-6 players |
How to Read the Rows
Ages 2-3 is a ground game: cones to walk around, hoops to step into, nothing to climb. An adult stays within arm's reach, and 30-45 seconds is enough.
Ages 4-6 adds one dribble gate and low obstacles. The single gate matters more than five would, because the child gets repeated practice arriving with the ball rather than one scattered touch per station.
Ages 7-9 can handle a slalom and a finishing task at the end. The finish gives the round a purpose, and the slalom is where the ball starts running away.
Ages 10-13 moves into change of direction and a timed finish. Timing at this age is fine, as long as the number is used to spot trends, not to rank children.
Why Groups Stay Small
Small groups aren't a nicety. The FIFA coaching manual sets out stations built from sticks, hoops, cones, poles, balls and low hurdles, with roughly 3 to 6 players per station and exercises of about 3 to 4 minutes each. It also describes a player who makes a technical error leaving the practice to run a slalom with the ball before rejoining, which tells you the course was always meant as a teaching tool rather than a race.
The same manual notes that only about 1% to 2% of the world's footballers become professionals who earn a decent living from the game. That figure keeps the whole project in proportion. The goal is a wide base of confident, coordinated movers, not a shortcut for the one child in a hundred.
The round lengths in the middle two rows aren't published standards. No manual hands you a stopwatch setting for a five-year-old, so set them short, watch how the group finishes the last round, and lengthen only if the last attempt looks as tidy as the first.
A relay or tagging finish works well as the last station for the 10 to 12 group, and these inclusive games for primary pupils give you formats that need no extra equipment.
Three signs the plan fits: every child completes each round, children ask for another go, and the final attempt looks as controlled as the first.
How to Build the Course Step by Step
Set it up once, properly, and the next six sessions take five minutes to reset.
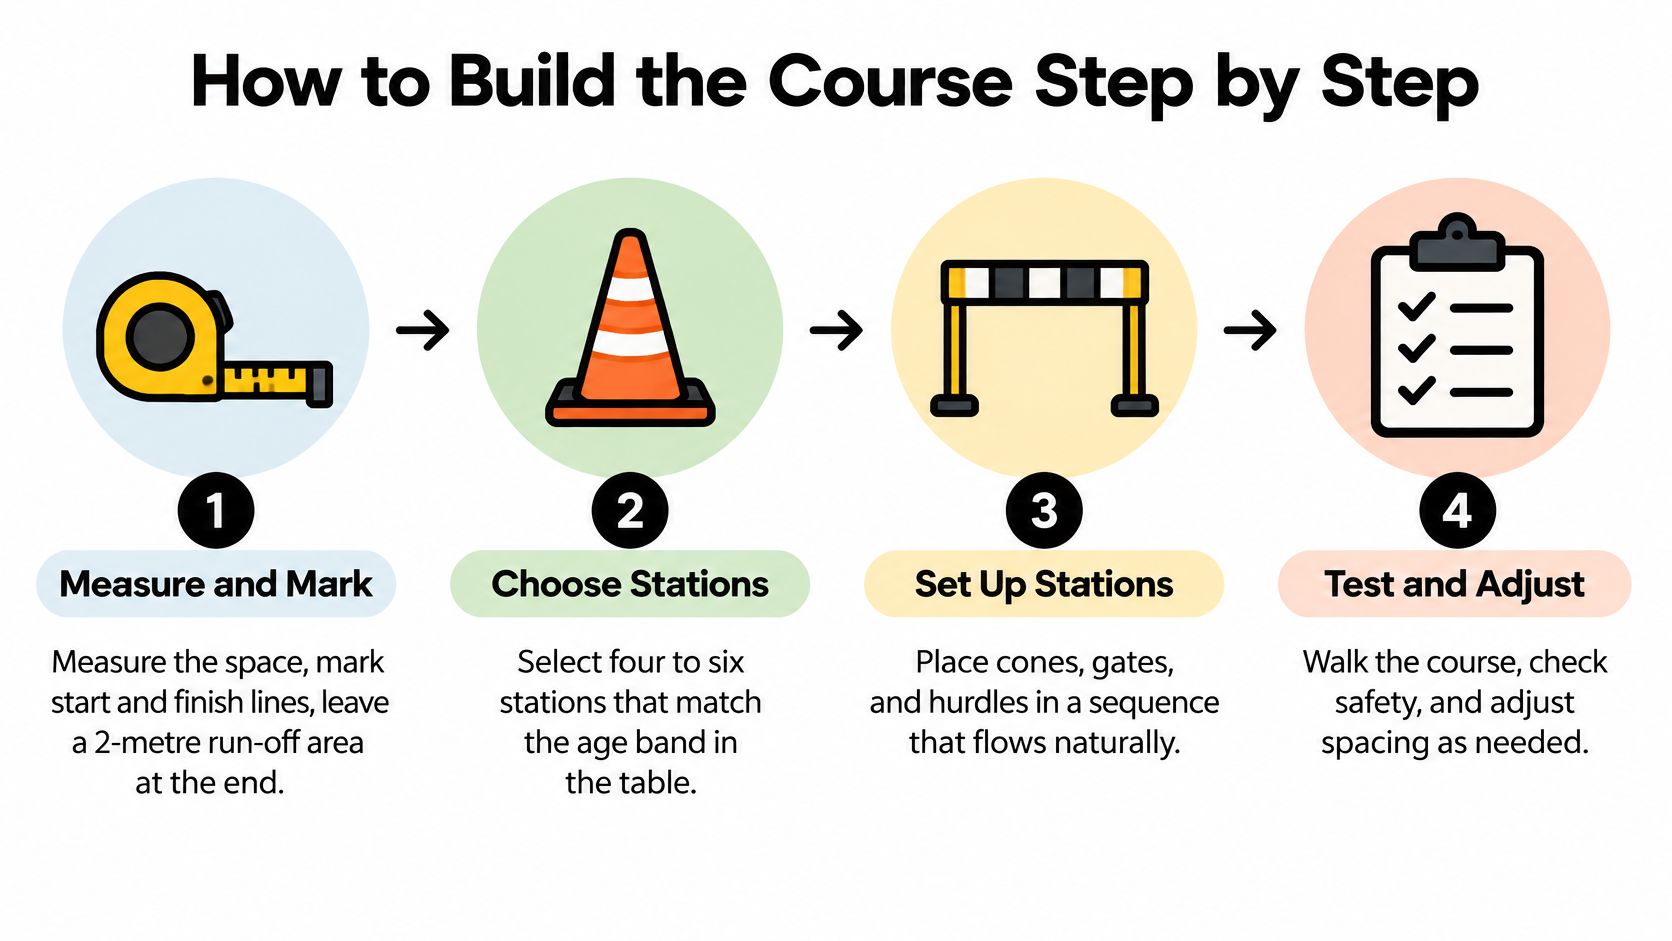
Measure the space and mark both ends. Run a tape down the longest clear stretch and put a start line and a finish line on the ground. Leave a 2-metre run-off area past the finish so a child at full speed has somewhere to slow down. The usual slip is ending the course at a fence, a wall or a parked car.
Choose four to six stations for the age band. Four is plenty for toddlers and six is plenty for 10- to 13-year-olds. Every extra station adds a queue, and queues are where attention leaks away.
Sequence from ground to ball to finish. Ground-level movement first, ball work in the middle, one finishing task last. Children reach the ball work already warm and switched on, which is when the touches are worth practising.
Set the spacing wide. Use the table lengths and add half a metre when you're unsure. Gates that are too narrow early in a block produce constant restarts, and a session that keeps restarting loses its shape.
Give every child a ball and a job. One ball per player plus a marker to stand on, so nobody is waiting without a task. Five children watching one dribble is a queue, not a course.
Walk it once with no timer. Walk the whole path slowly with the ball and point out the turns. Then time a full round. Timing the walk-through gives a false baseline and turns a learning rep into a test.
Change one variable at a time. If gates are being missed, widen them. If the ball runs away on the turns, slow the entry. If it's too easy, add a called direction. Change three things at once and you learn nothing about which one worked.
A course that needs a fresh demonstration every round is too complicated. Cut a station rather than adding another rule.
What to Have in the Bag
Cones, hoops, two low hurdles, a ladder or a few lengths of tape, and one ball per player sized for the age band, with something smaller and lighter for the youngest children. Add a stopwatch or a phone timer. Whether you're buying or borrowing, this youth soccer training equipment guide covers what gets used and what sits in the shed.
Keep the same equipment across a block of sessions. If the cones move and the hurdles change height every week, the round times stop meaning anything.
A finished course has four things: a clear start and finish, every station visible from the start line, no trip hazards between stations, and an exit path a child can take without crossing anyone else's route.
Keeping Young Players Safe and Fresh
Parents ask a small set of questions before the first session, and they deserve straight answers rather than a waiver form.
When to Stop a Round
Stop the round the moment a child drags their feet, loses control of the ball on flat ground, lands awkwardly from a hop, or shows tears or flat refusal. Those are fatigue and confusion signals, not discipline problems. A tired child who keeps going rehearses sloppy mechanics, and sloppy mechanics are what you spend the next month correcting.
Sprints, Surfaces and Scaling
Repeated maximal sprints are not appropriate for a four-year-old, and there's no version of a course that changes that. Use short bouts with walking or hopping recovery between them, and save all-out efforts for older players who are already landing and turning well.
Build with low, soft, widely spaced obstacles. Raise a hurdle's height only when the child lands and turns with control at the current height. A warm-up of hops, skips and turns beats static stretching before a course, and water plus a proper rest between rounds beats squeezing in one more go.
If your course runs beside a fixed play structure, or you're buying ground cover for a landing zone, the ADA and CPSC playground safety standards explain the fall-height and surfacing rules that apply.
Progression runs from locomotor skills, hopping, crawling, balancing on one leg, to ball control, then to decisions. Treat young children as developing movers rather than miniature academy players.
A 2025 systematic review and meta-analysis examined injury-prevention programmes for youth soccer players specifically, as this roundup of US youth soccer participation and injury research notes. Prevention is an active research question, not a coaching footnote.
Review the course after every block of sessions and change one variable at a time.
Stations That Build Ball Control
Start With the Zigzag
The most useful single station is the cone zigzag. Youth soccer agility research uses a 20-metre zigzag with cones 5 metres apart set at roughly 100-degree angles, described in this study protocol on change of direction and dribbling. Players accelerate, brake, reposition their body over a new base, and repeat.
Run it twice: once without the ball, once dribbling. Record the two times separately, and count cone contacts and missed gates as errors. A large gap between the two times points at ball-touch limits. Poor results in both point at change-of-direction limits, which means the child needs turning and braking practice before more dribbling.
The reactive version is the better test. The coach calls the direction after the child starts, so the player has to read a signal and respond rather than execute a memorised route. That separates planned speed from genuine agility, where perception and reaction are part of the skill.
Coaching note: record the two zigzag times separately. One combined number hides the reason behind the result.
Keep flooring, footwear and rest intervals the same across trials, or you end up comparing the surface and the shoes rather than the player.
The Supporting Stations
Station | Skill trained | Setup | Easier version |
|---|---|---|---|
Cone zigzag | Change of direction and dribbling | Cones 5 m apart, one ball per player | Widen cones to 7-8 m and walk the first round |
Hoop footwork | Foot placement and light touches | Hoops on the ground, one per player | One hoop, no ball |
Low hurdle hop with ball | Balance and close control | Low hurdles, ball placed just in front | Remove the ball and step over only |
Ladder with ball | Quick feet and rhythm | Ladder or lines of tape | Walk the ladder with two feet in each square |
Passing or shooting gate | First touch and finishing | Target gate about 5-8 m away | Move closer and enlarge the target |
Each of these scales by distance and spacing without changing the movement pattern, so a five-year-old and an eleven-year-old run the same shapes at different sizes. That consistency is what lets you compare a child's March round with their May round.
Adding Choice and Decisions for Older Players
A fixed follow-the-cones circuit is easy to run and easy to love, which is exactly the problem. It tests whether a child can obey a sequence and move quickly. It doesn't test whether they can look up, choose, and commit.
Players are clear about what they want from the sport. In a 2025-2026 Project Play survey of nearly 700 youth players in New York City and North Jersey, 48% valued playing with friends, 46% valued having fun and 45% valued skill improvement, while only 23% prioritised winning and 13% scholarships, as reported in Project Play's youth soccer survey summary. A course that's all obedience and no choice fits none of those top three answers.
Three Ways to Add Choice
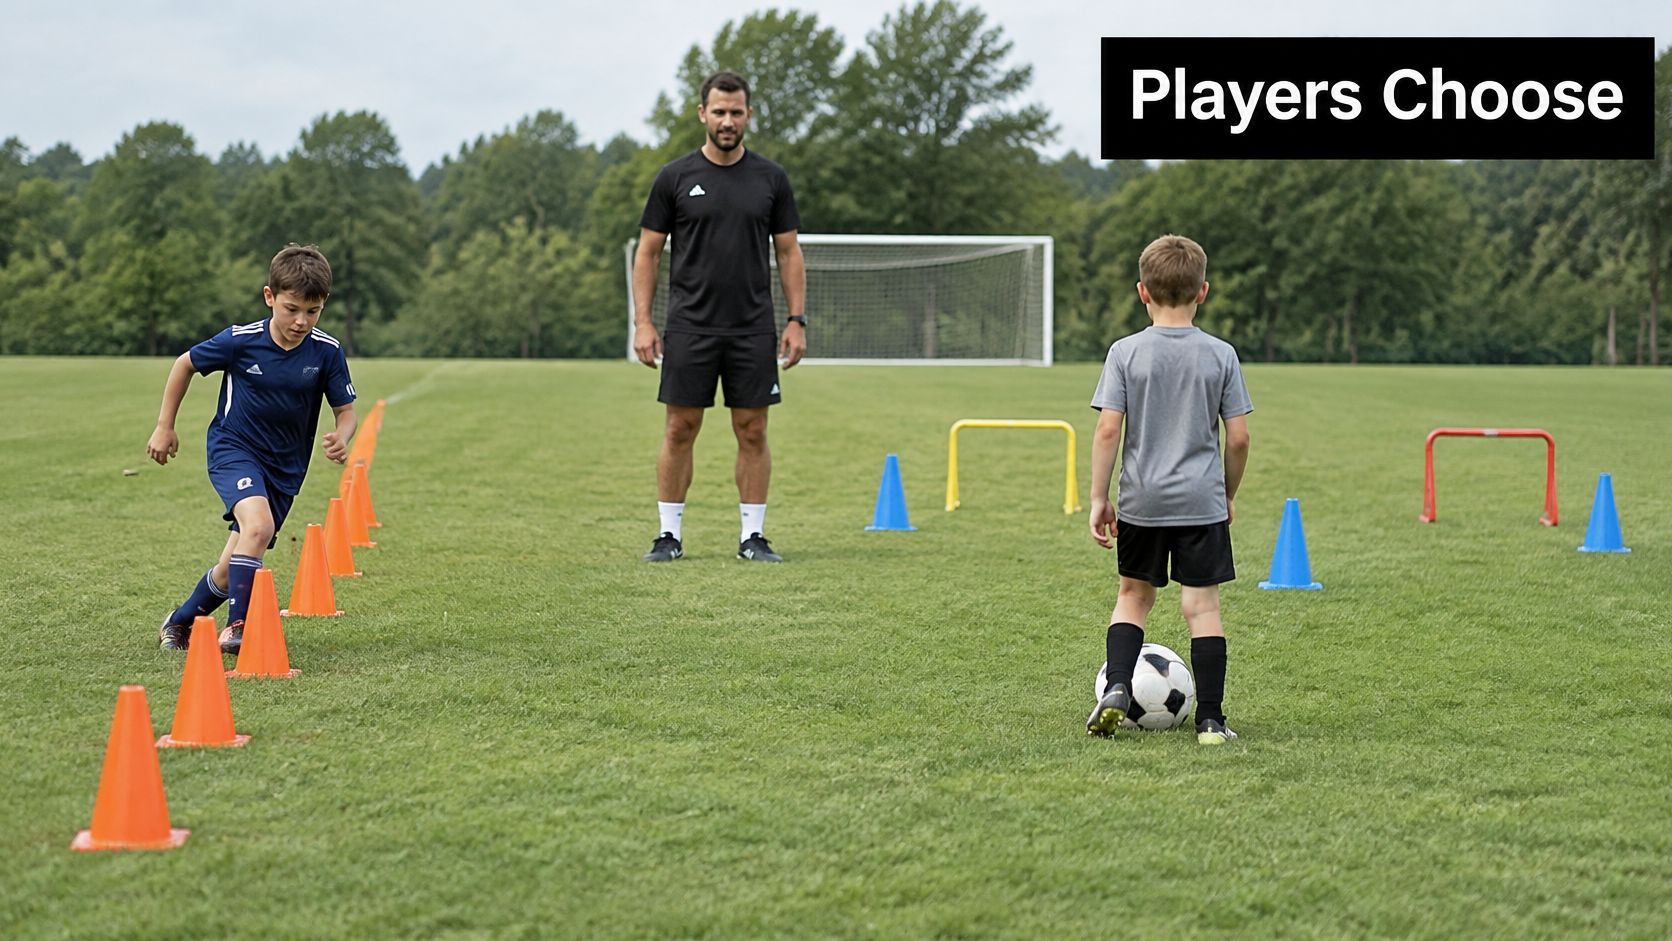
Offer two marked routes, one harder. A tight line of cones on the left, a wider arc on the right. The player picks before they start, and the choice itself is the training.
Call a direction mid-route. A coach or a waiting teammate signals left or right after the player commits to the first gate. A 2024 dribbling study in Frontiers in Psychology put 42 participants through three trials of navigating a course under different cognitive-load conditions, which is the lab version of what a coach does when they shout a direction halfway through.
Finish with a game-like decision. A pass into a target, a shot on a mini-goal, or a one-versus-one against the next player in line. The finish stops being a checkpoint and becomes a problem.
Start with two routes around ages 7-9, then add coach-called signals for 10- to 13-year-olds. Choice still needs limits: two routes inside taped boundaries, no crossing paths, and a rule about who goes next. Small-sided games are the natural home for the same decisions, and these small-sided soccer games give you formats that mirror the course's final station.
A course with choice should be judged on the quality of the decisions as well as the clock.
Measure Progress and Run Your First Week
The Case for Short and Frequent
Treat the course as a coordination programme, not entertainment. A youth soccer study delivered a combined coordination and agility block of 10 minutes per session, three days per week, for 10 weeks. Countermovement-jump power and Illinois Agility Test performance improved significantly, while changes in longer-distance speed did not reach statistical significance, as reported in this 10-week youth soccer coordination and agility study.
The lesson is narrow and practical. Short, frequent exposure built on foot placement, balance, braking and redirection moves the qualities a course trains. It won't turn anyone into a sprinter, and you shouldn't expect it to.
Your First Week
Day 1. Pick the age band from the table, mark a course at that length, and set up four stations. Run one slow walk-through with no timer, then time a single round with the ball and a single round without it. Write both down.
Days 2 to 4. Repeat the 10-minute session. Record the round time and the errors, and change exactly one variable: widen a gate, add a called direction, move a hurdle a step closer.
Day 5. Keep only the stations the children complete with control. Anything producing chaos twice in a row comes out, not back in with a new rule.
What to Write Down Each Week
Three numbers and one note. The round time with the ball, the error count (cone contacts, missed gates, lost touches), and one quality measure such as a controlled stop at the finish. The note is where you record what you saw: which child looked up, who rushed, who asked for another go.
For children under seven, skip the stopwatch. Record completion and confidence instead, because a five-year-old who finishes the course smiling has achieved more than one who finishes it two seconds faster in tears.
Coaches who run these sessions week after week tend to build them the way our programs do, with age-appropriate games and drills that put the child at the centre of the game rather than the equipment.
The Week Ten Retest
At the end of ten weeks, retest on the same course with the same rest intervals and the same equipment. Compare the numbers you wrote in week one, but read them alongside the quality notes, because a faster round with four lost touches isn't progress.
Before the next block, write down three things: the age band, the station list, and the retest date. That single page is the difference between a course that develops players over a season and a set of cones that gets dragged out whenever energy dips.
JC Sports Houston runs indoor soccer classes for children 24 months and up in Humble, Kingwood and Atascocita, and our coaches build sessions the same way this guide does: ground-level movement first, ball control next, decisions last. Free trials are available for MultiSport and for soccer at ages 4-6, 7-9 and 10-13, so you can bring your child to one session and watch how they move through a course before committing to a block. Visit JC Sports Houston to see the class schedule and request your trial.
Comments